
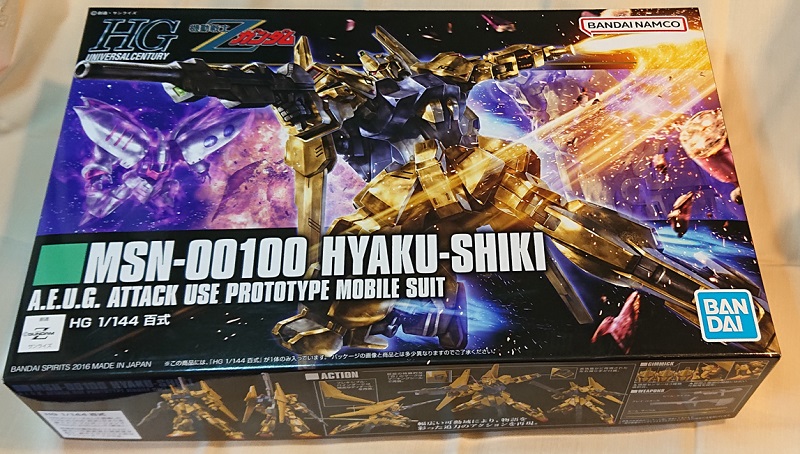
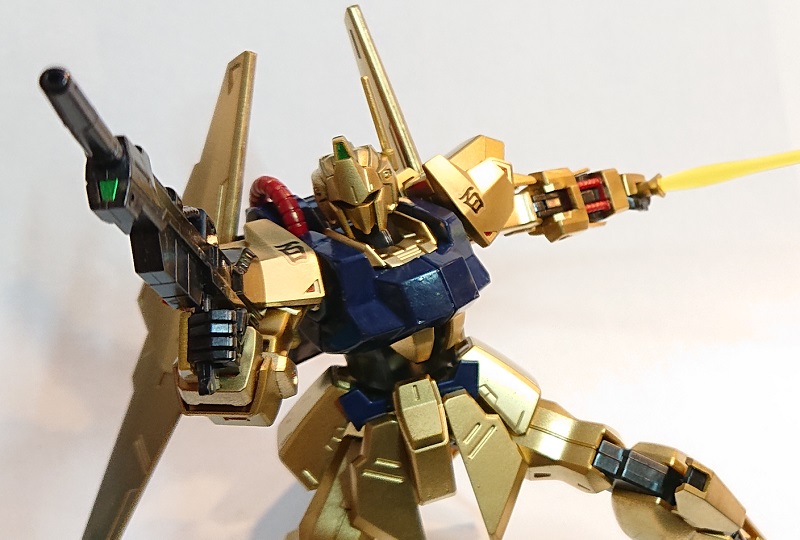
MSN-00100 Hyakushiki HGUC (Revive), 1/144 scaled plastic model was painted in a runner state before assembly using the Gundam Marker Gold and the Gundam Marker Airbrush system, and then assembled.
I think that the finish is satisfied enough even though don’t have to paint separately for parts each by each.
I have not use an airbrush, how does the gundam marker airbrush system performed?
How the appearance of Hyaku-shiki which is painted with gold?
Thus, this article introduce the kit of Hyaku-shiki and performance of the air brush system, how does Hyaku-shiki appearance became nice with gold paint.
Painting
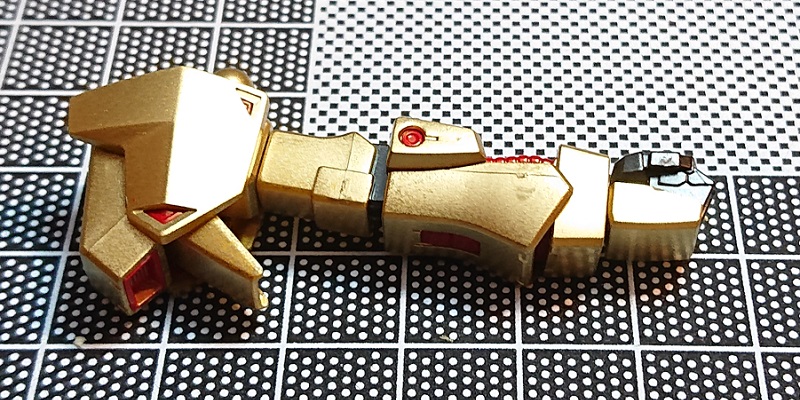
Its figure is the state of performed that painting by airbrush system with runner state and compared.
The side area and gate area in case of runner state may difficult to painting well, so do checking a surface and paint carefully.
Before and after painting
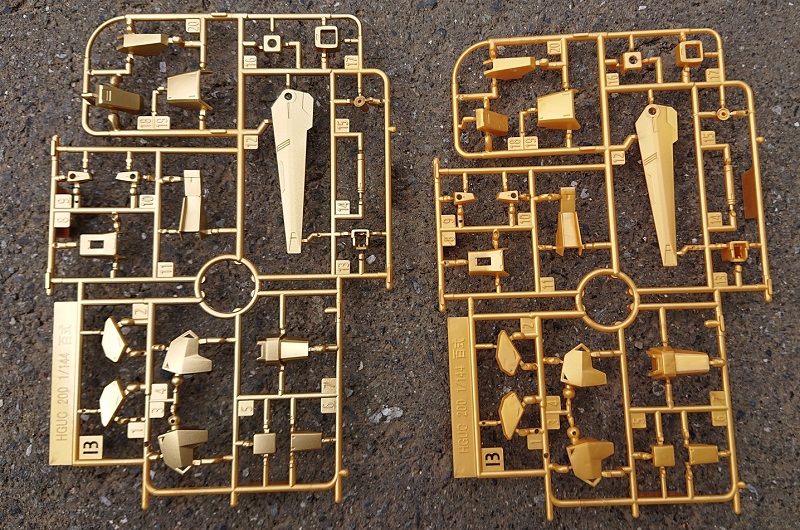
Painting the gold runner
Picture below is showing the state that one time painting with the Gundam marker airsystem. I feel that the painting quality is good enough for me.
Picture shows the state as after painting on the left, before painting on the right
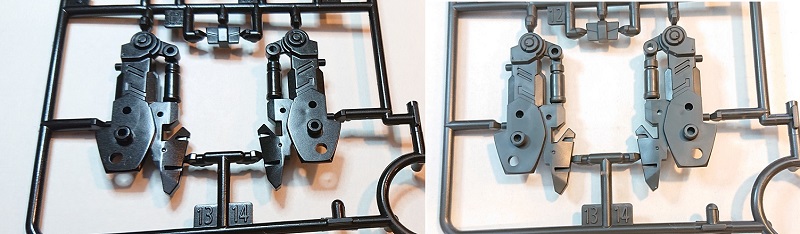
Painting the grey runner
Picture below is showing the state that painted with the sprey can Metaric Black.
Appearance became close to the metal.
After painting on the left, before painting on the right
Painting the blue runner
I could not find a good color for Hyakushiki-blue from the lineup of the Gundam marker.
There is “Gundam blue” from the lineup, but it is too bright for Hyakushiki-Blue, so I made a color and painted it by the brush.
Made a color and do color test to use unnecessary part of runner to make sure.
What to did
Apply paint all together before cutting parts from each runners.
It’s a very simple work, all you have to do is paint each runner state in advance, and then assemble it in the same way as normal assembling.
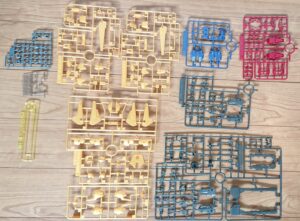
Picture shows below is all of runner state in the box before paint.
Remark:
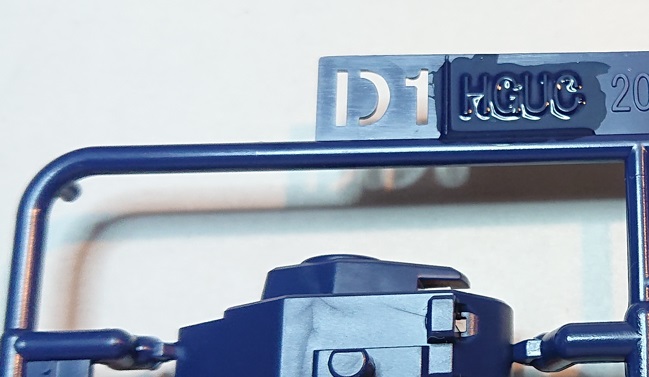
The parts are separated from the runner after painting, some of the gates will be unpainted and row material can be seen. Most recent Gunpla has been considered “under-gate” design or considering the position of the gate that are hidden after assembly. so however some of the gates are exposed.
Assembling
Once the paint is dry, it’s time to assemble.
It is not mandatory but if possible, better to repair the gate traces where row material is exposed with the Gundam marker and remaining paint.
When you made original color by mixed paint, Better to keep some amount of paint because sometime need to use for repair afer peinting work.
This picture show that the gate trace on arm are repaired with the gundam marker during assembling work.
Not so difficult to repair partly if use the Gundam marker
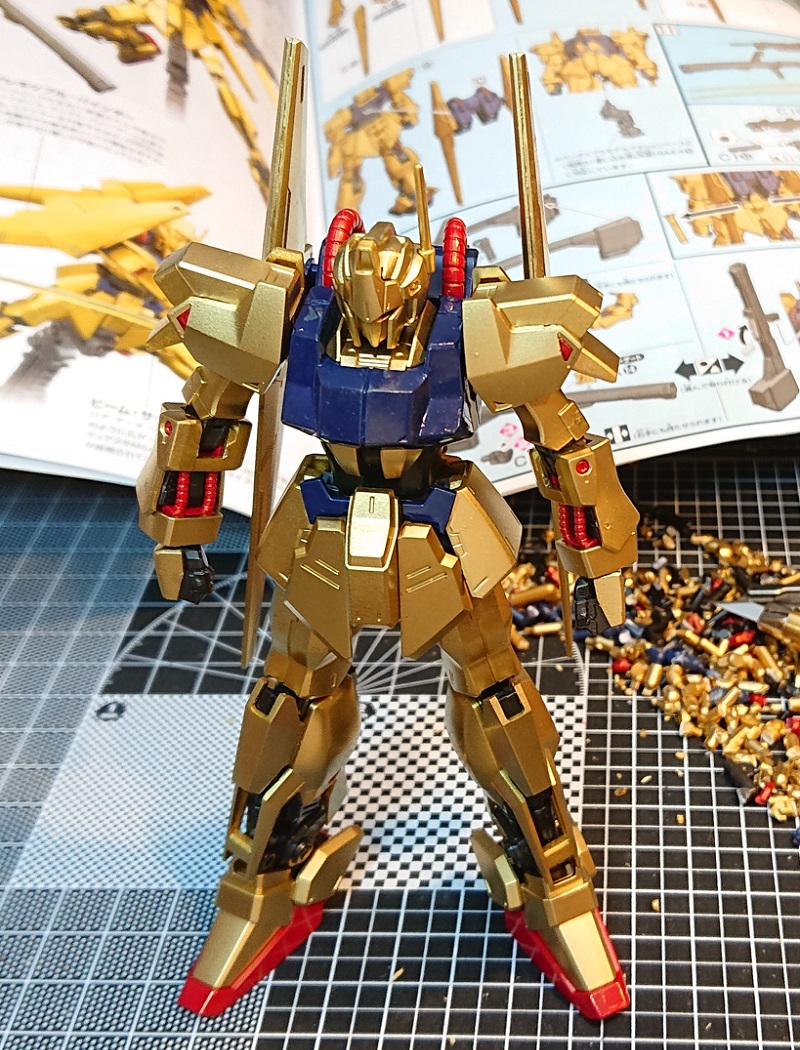
Assembly completed
This is the state that without partial painting additionally.
I think that original performance of this kit is great.
Preparation for paint
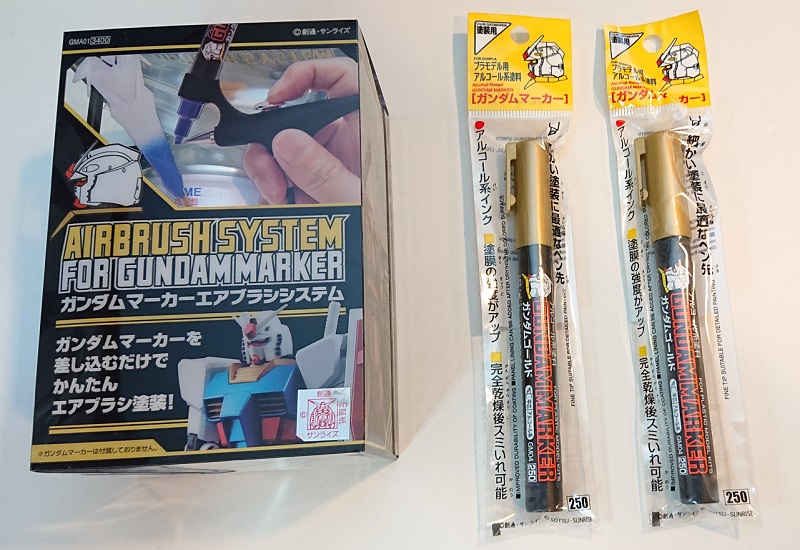
The goods used for painting of Hyaku-shiki.
- Gundam Marker
Gundam Gold (just in case, I purchased two pens, but a pen was enough if painting only once)
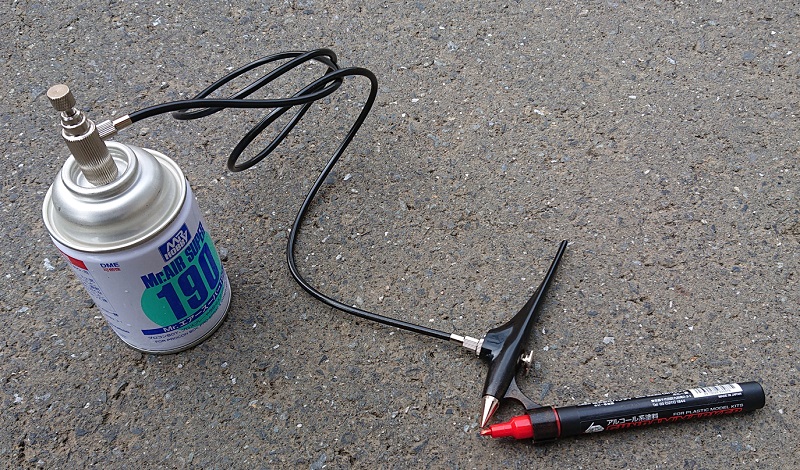
Gundam Red - Gundam Marker Airbrush system (GSI Creos Gundam Marker Airbrush System)
- Spray CAN
Mr. COLOR No.78 Metaric Black - Paint (Paint by brush) Water-based hobby color
H15 (indy blue)
H39 (Purple)
H2 (Black)
Picture below shows the Airbrush system and Gundam marker gold
Picture below shows the Airbrush system overview
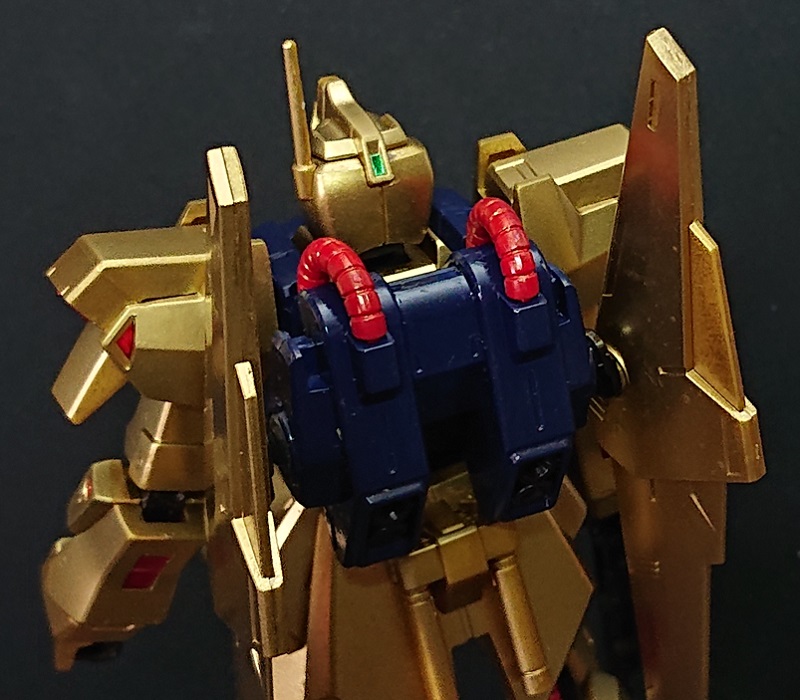
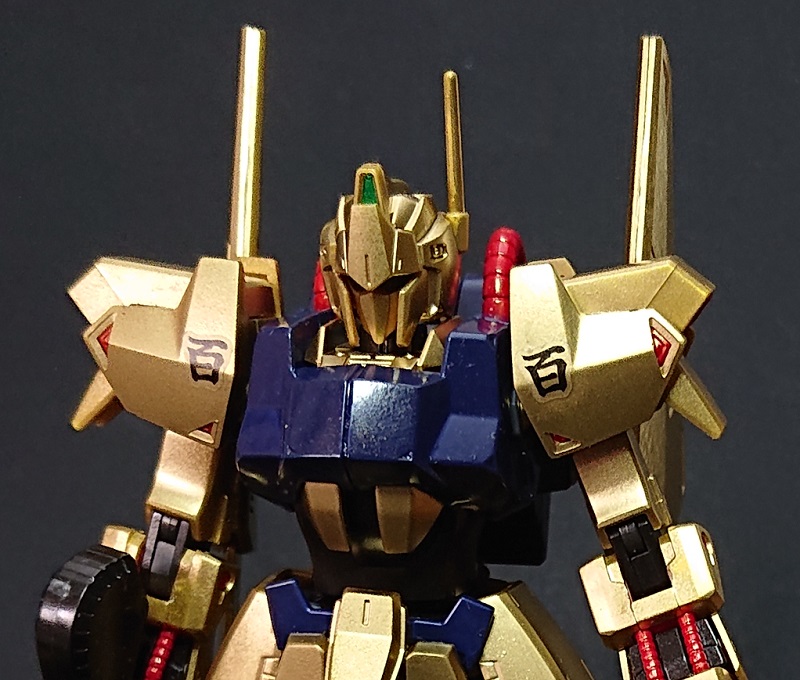
Photos
like a package illustration image
Black back ground color is feels so good with gold body
Conclusion
At this time I did not paint partially an areas where is better to paint separately as it is like a original, but Hyaku-shiki can be satisfied as you can see the pictures, so I think that this kit is great to assemble both as with or without painting.
I would say that this kit is HG (High grade kit) but great enough.
I am introducing the another plastic model kits as well as the following link so I would appreciate if you have interesting and see about that.

